Quick-start guide
Thank you for purchasing a Bexhill West Turntable Controller!
This quick-guide is intended to get your controller system up and running as soon as possible. Once you're up and running, I would encourage you to check out the rest of this manual to see what your new turntable controller is capable of!
This manual can be freely browsed by anyone. If you don't already have a controller, maybe you'd like one after you've had a look around? Please feel free to visit our online shop if you want to buy one!
This page is a lightly modified version of the quick-start guide that comes with every new turntable controller.

Verify that you have the turntable controller, a receiver unit, a USB-C cable and a 12v power pack in the box. (picture to follow)
Step 2
Plug the USB-C cable into the top of the controller, and the other end into any USB outlet or charger to begin charging the battery. Whilst it will have some charge in it as supplied, the amount may vary. Full battery life will be achieved after 2-3 discharge/charge cycles.
Step 3
Connect your turntable’s “home” sensor to the “HOME” terminal on the receiver. Power to the sensor can be supplied from the +3v and GND terminals on the receiver. Also connect the drive stepper motor to the 4-pin plug.
Connect the receiver to 12v power and switch it on.
Step 4
Switch on the turntable controller. After the splash screen:
 ,
,
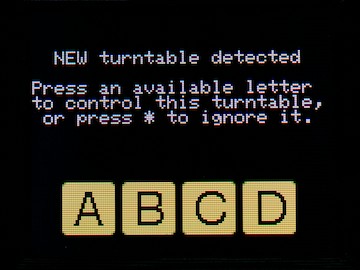
the controller will scan for any receivers:
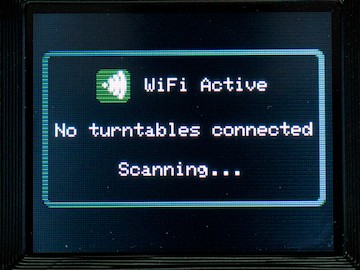
When it finds it, it will let you choose which letter (A-D) this turntable will be assigned to:
Choose the appropriate letter (“A” is assumed by the rest of this guide):
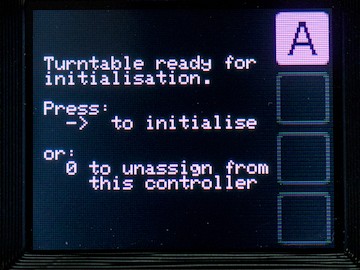
Step 5
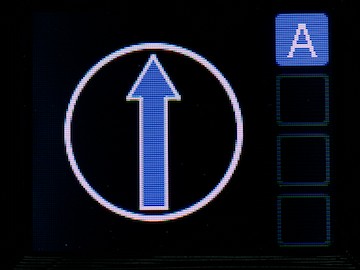
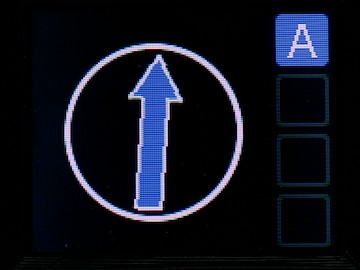
Press the “Clockwise” (right-hand white) button to begin the initialisation. The turntable will now self-calibrate, then drive to its initial home position. During initial calibration (which is only carried out once), the arrow will display in blue, but will not move.
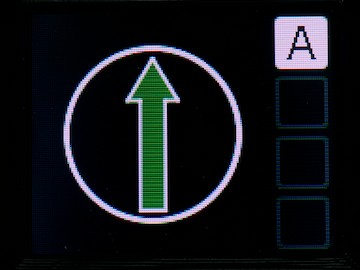
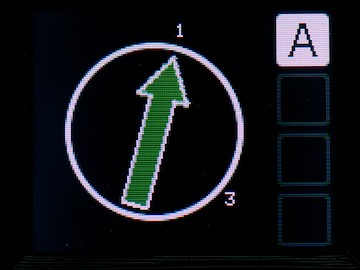
Once the calibration is complete, the turntable will make one more complete rotation, the arrow will display in green as it does so:
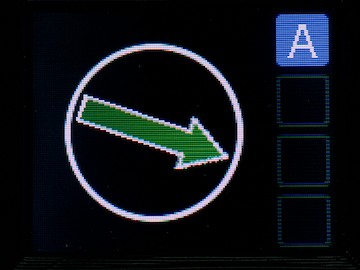
When the home sensor is detected, the turntable will stop, the arrow will also stop. The turntable is now ready to be programmed.
Step 6
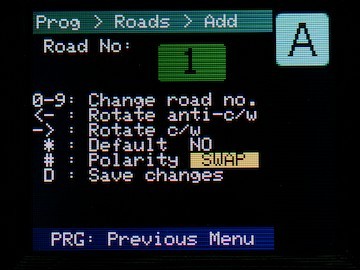
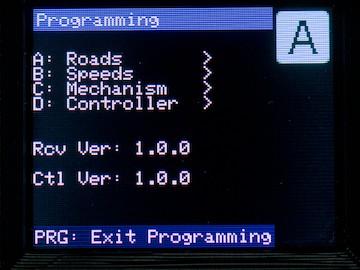
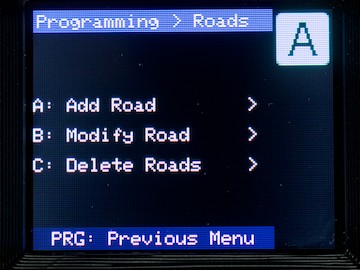
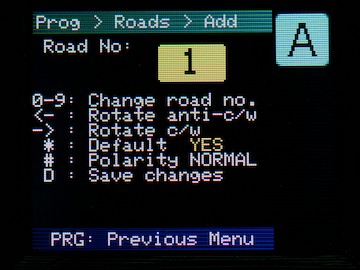
Press the “Prog” button, then “A”, then “A” again to begin adding a new road:
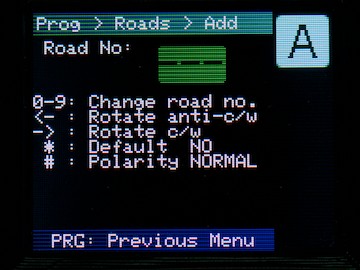
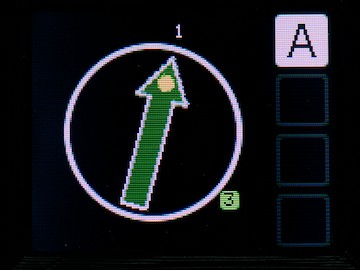
Type the road number (between 1-100). As you are typing, the number will be displayed with a yellow background. Once you have typed the full number, after a short pause, the system will "lock in" the number, displaying it in green:
Press and hold the white Clockwise or Anti-clockwise buttons to turn the turntable to the desired position. The longer you hold the button, the faster the turntable will move; as soon as you let go, it will stop. Nudge the turntable into the correct position with shorter presses of the buttons until you are happy with its alignment. Whilst holding a direction button down, the display will show the current position of the turntable (and any roads which might already be programmed):
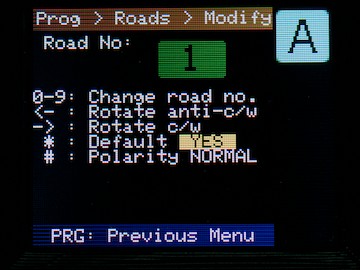
Once you are happy with the turntable alignment, (optionally) use the ![]() key to set this track as the default track; and the
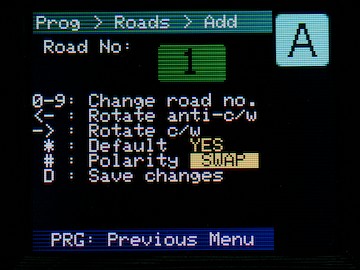
key to set this track as the default track; and the ![]() key to select the track polarity (normal or swapped).
key to select the track polarity (normal or swapped).
Finally, press ![]() to save the road. (This procedure is covered in much more detail in the full manual).
to save the road. (This procedure is covered in much more detail in the full manual).
Repeat this procedure for as many roads as you wish to program. You don’t need to program opposite roads, although you may find the system easier to use if you do.
Step 7
Congratulations, you’re ready to go! Press the “PROG” button to return to the main screen. To use the turntable, simply type the road number, then press the appropriate direction button to go to that road.
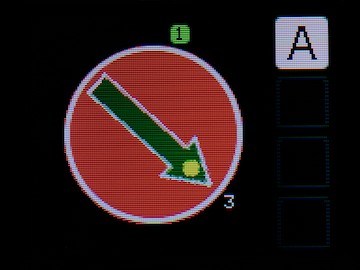
Here we have chosen road 3 (which is highlighted with a green background); notice also the indicator spot near the "1", this indicates that the head (pointy) end of the turntable will be directed to road 3. Pressing Anti-clockwise will send the turntable the long way around, pressing Clockwise will go the shorter route.
You can toggle which end goes to the target road by pressing the ![]() key. The spot will move from head to tail as appropriate.
key. The spot will move from head to tail as appropriate.
If you want to move the turntable rapidly (not at scale speeds), double-tap the ![]() key: The turntable will light up red to warn you you are in "rapid" mode. Pressing the ACW/CW buttons will make a non-scale-speed move in the selected direction to the target road.
key: The turntable will light up red to warn you you are in "rapid" mode. Pressing the ACW/CW buttons will make a non-scale-speed move in the selected direction to the target road.
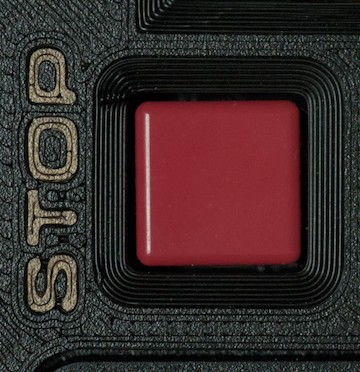
At any time during a turntable move, you can trigger an emergency stop of the turntable by pressing the red STOP button on the controller: