
Programming Mode
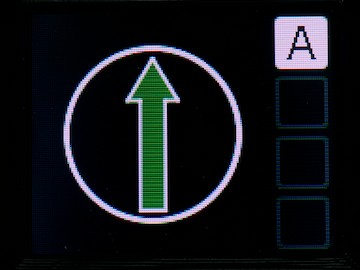
We assume you have already carried out the steps required to pair a receiver and controller, and you are currently looking at a screen that looks something like this:
Switch to programming mode
Firstly, if you have multiple receivers configured, ensure you switch to the turntable you want to program, by pressing the A - D letter key the turntable is assigned to. If your screen looks like the above, don't worry, you can't choose a turntable you don't have!
To enter programming mode, simply press the black PROG button on the controller. The screen will change to look like this:
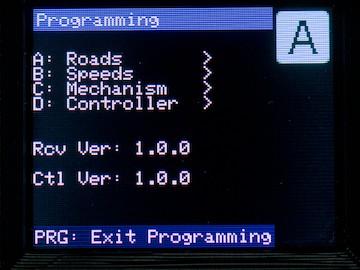
From here, you can use the letter keys on the keypad to choose what aspect of the turntable/controller you wish to program:
- A - will allow you to set up the roads which your turntable needs to go to/from
- B - will allow you to configure the speed the turntable rotates at, and how quickly it reaches that operating speed
- C - will allow you to make certain adjustments to the receiver configuration
- D - will allow you to make certain adjustments to the controller configuration for this turntable.
This screen also tells you the current receiver firmware version number, and the controller firmware version number. You may be asked for these numbers if you need technical support.
Switch to Operating mode
To return to operating mode, press the PROG key (note, on most menus, it's referred to as PRG).
No Comments